January 28, 2012

Homemade Tortillas

Remember how I told you those enchiladas were seriously the best I've ever eaten? Well there weren't that delicious for no reason! Delicious meals start with quality ingredients, and those enchiladas were no exception!

If you looked really closely at the ingredients, you would have noticed I said, preferably homemade tortillas. And yes, I still stand by that statement. But you know I wouldn't leave you to fend for your self on that one!

Fresh, homemade corn tortillas are very simple and quick to make, and they freeze very well for future use. Yes, a little equipment is required, but it is definitely worth it if you love mexican flavors.

First step: get a tortilla press. Cast iron is really the best for the job (like this one) but there are many aluminum ones on the market as well. But if you want the most bang for your buck, cast iron is definitely the way to go!
My heavy cast iron tortilla press

Second Step: get some Masa! Masa is just corn meal treated with lime. This is usually fairly easy to find in a regular supermarket down the ethnic aisle.
Third: Combine your masa + water according to the direction on the back of the package. Today I'm making a batch of eight tortillas.
*Note* When adding the water to the dry mix, I have always used about 1/4 cup more than the package suggests, so if your dough looks to dry, add more water.
Too dry - add more water! 
Just Right!
Fourth: divide your dough into 8 equally sized balls, like so:
Fifth: prepare your tortilla press! The easiest way I have found to do that is to just cut open a plastic baggie and place it on the press. Don't skip this step!
Prepared!
Place the dough ball on press, slightly off center

SMASH!

Open - voila! A tortilla!

Sometimes they break, that's ok! Re-roll and smash again!

Broil for about 30 - 40 seconds per side

This is the ultimate trick of making tortillas! Do NOT cook them in a pan on the skillet, like the package says. It takes far too long and is not so delicious. Broiler method is WAY faster and much taster.
Carefully remove from the oven and now you have your very own tortilla!
Repeat with remaining dough balls

If using right away, place on a plate covered with foil. If not, freeze for future use
Fresh Tortillas are delicious and simple! And it makes all your mexican food taste AMAZING!! Next time you have a Mexican Fiesta (aka: Cinco de Mayo) try it out!


January 27, 2012

Best day ever!


Happy National Chocolate Cake Day!!

Eat some for dessert


What's up next week:
  • Granola Bars
  • Fro Yo
  • Stuffed Squash

January 26, 2012

Fiesta Enchiladas

Sorry about the delay on this post, but when it comes to test time, studying takes over my life. But I am now back with a yummy chicken enchilada recipe! Chicken enchiladas are one of my favorite meals to make at home. When you make your own enchiladas instead of ordering them at a restaurant, you can control the ingredients to make it more of a well rounded, healthy dish!

And when I was doing some grocery shopping last week, there were samples for an amazing enchilada sauce and I knew I needed to make a batch ASAP. What was the magical sauce? It was called Red Enchiladas Sauce by Enchiladas Ole!
And it was seriously one of the best sauces I had ever tasted. The company that makes it is based in Dallas, and all of their products are authentically made with no preservatives and additives. It is so fresh that it has to be kept refrigerated all the time! The product is only in a few grocery stores in Dallas, but you can order it online here!

If you live in Texas, go support your local business and buy some now! You won't be disappointed!

Print this recipe!

Black Bean & Chicken Enchiladas


Ingredients
  • One jar Enchiladas Ole! red sauce, or sauce of your choice
  • 8 corn tortillas, preferably homemade
  • 3/4 cup black beans
  • 1 tomato, diced
  • chicken breast, cooked and shredded (I like to shred rotisserie chicken) 
  • 1 cup 2% milk mexican cheese
  • Salsa and/or guacamole to serve
Directions
In a shallow pan, heat sauce with 1 cup of water on medium heat until simmering. Stir the sauce every few minutes throughout the process.

In a 8x8 pan, pour about 1/4 - 1/3 cup of the enchilada sauce in the bottom.
Warning: it can get a little messy!

Take your corn tortillas, and dip it in the simmering sauce for 5 seconds (MAX).

Fill tortilla with chicken, black beans, tomato, and a sprinkle of cheese.
Roll tortilla around the filling so that the seam is on the bottom of the pan.
Repeat process with remaining tortillas. When your pan is full, sprinkle the rest of the cheese on top and bake in a 350 degree oven for about 20 minutes, or until cheese is melted and everything is hot all the way through.
Pre-bake

Post-bake
Serve with guacamole, salsa, and a margarita!

Yield: 6 servings

Note: this recipe could easily be made vegetarian by substituting sauteed vegetables for the chicken

January 25, 2012

So much studying!

Sorry for no food post today! This has been consuming my life since the weekend:

Medical Nutrition Therapy test tomorrow on Cardiovascular Disease/ Hypertension. soo much to know!! And yes, I do all my studying with a pink pen. It just makes things look a little more nice!

But I'll be back tomorrow with a Mexican Fiesta theme meal!

January 24, 2012

Rainy Day Risotto

Today is a gross day. It has started to get colder, rain, and storm here in Dallas. NOT fun at all, especially since I have a lot to study for a test on Thursday, and all I want to do is get my pajamas on, curl up with a heated blanket and watch some Netflix.

But no, I must study, study! But these dreary days really make me crave some comfort food. And when I think of comfort food, my go-to dish is risotto. Risotto is just one of those hearty Italian favorites that I crave in the fall/ winter time. It is rich and creamy without having to add any amount of cream.

Delicious and nutritious, especially when you add a some lovely roasted vegetables. If the thought of making risotto scares you, don't be! It is actually really simple to make while keeping one rule in mind: do not leave the risotto unattended while cooking! If you obey that one rule, you can make risotto fit for a dinner party! So without further a-do, this is my recipe for a perfect rainy-day meal!

Print this recipe!

Roasted Vegetable Risotto

Ingredients
  • 1.5 cups vegetables of your choice (my favs: squash, asparagus, red bell pepper)
  • 1.5 tablespoon olive oil, divided
  • 1.5 teaspoon butter, unsalted
  • 1/2 onion, diced
  • 1 cup arborio rice
  • 1 quart, low sodium chicken/ vegetable stock
  • Pinch of saffron, optional
  • 1/2 cup parmesan cheese
  • salt and pepper to taste
Directions
In a non-stick skillet on medium-high heat, sauteed vegetables in the olive oil until golden brown and tender. Like so:


In the mean time, heat up the chicken/ vegetable stock in a small saucepan over medium-low heat.

Remove vegetables, and set aside. add onion + 1/2 tablespoon olive oil to the pan and sauté onion until translucent and lightly golden. Will take about 7 - 10 minutes. Add butter and stir in the rice, until everything is evenly coated.

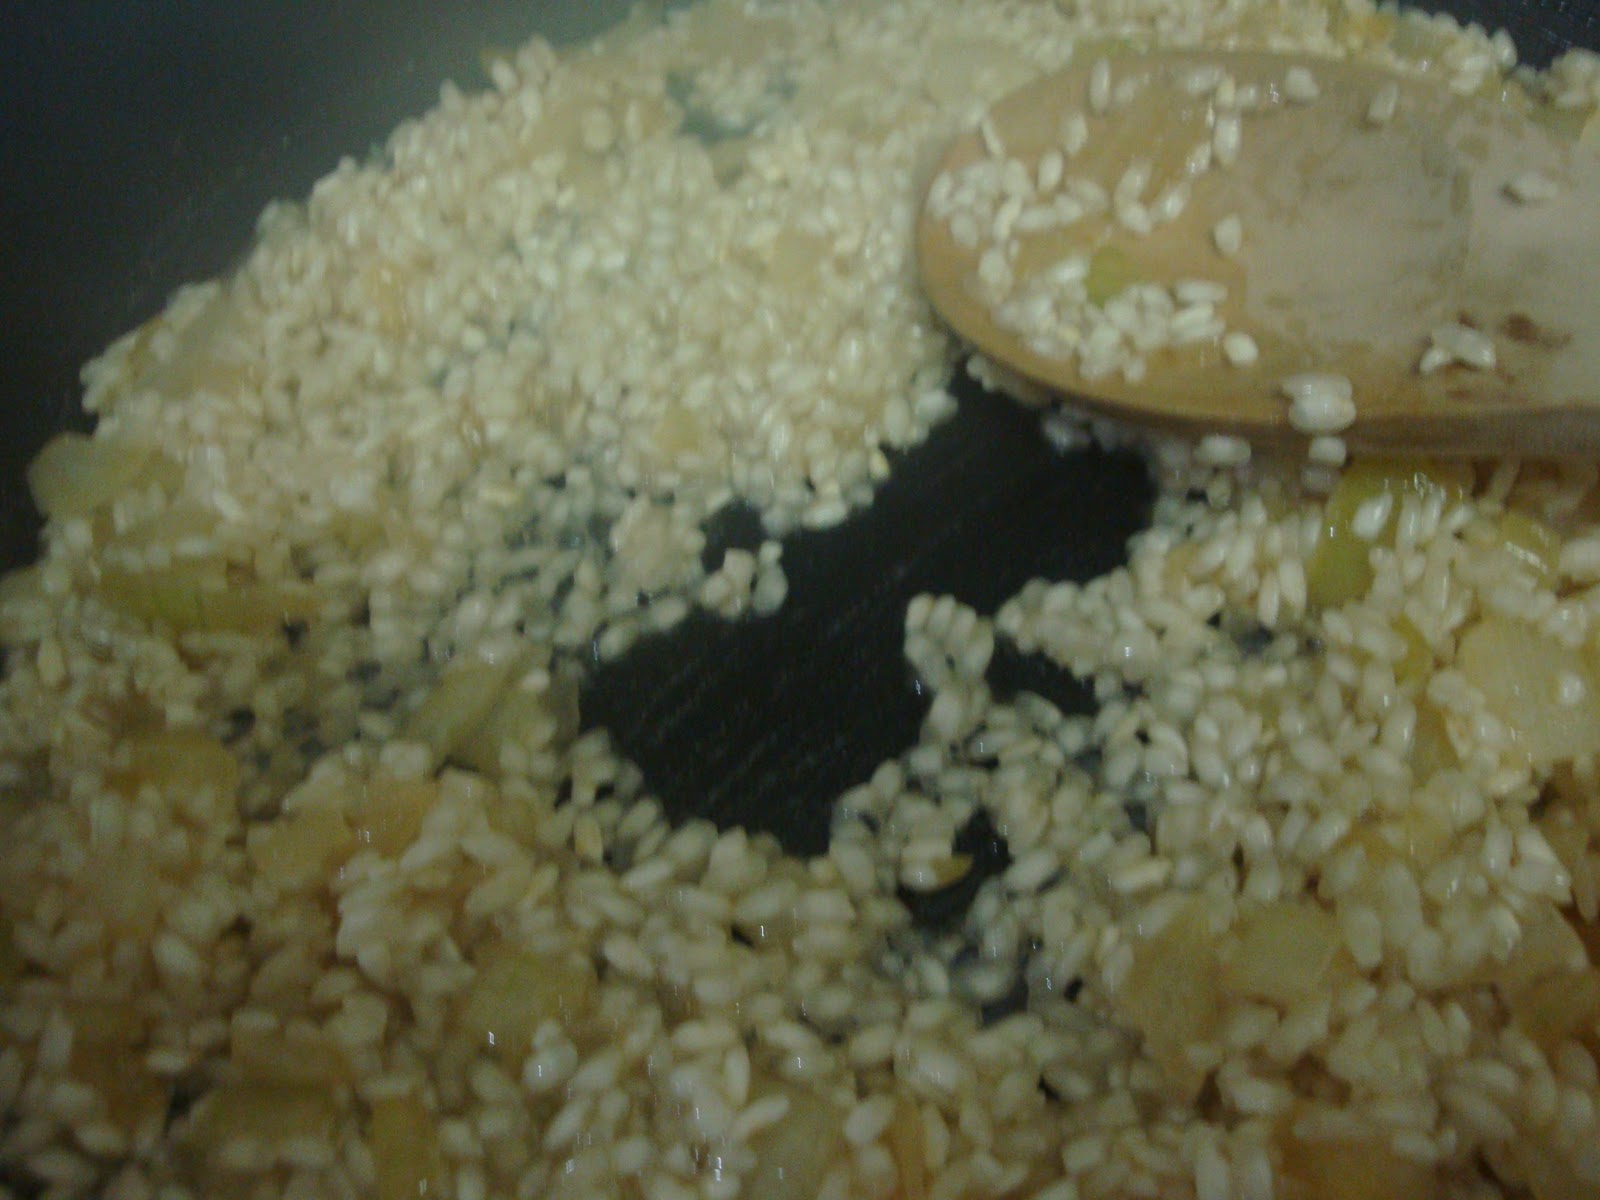
A half cup at a time, add the warm chicken stock to the pan. Stir the rice to evenly coat (You will want to stir the rice every 1 - 2 minutes or so throughout the rest of the process). Once the rice has absorbed most of the liquid, add another 1/2 cup of stock. Continue to repeat this process until the rice has achieved a creamy consistancy. Process should take about 20 - 30 minutes in total. Rice should be tender, yet not mushy.
Rice with stock just added
Rice has absorbed all of the chicken stock! Time to add more liquid.
Once the rice has a creamy consistency, but just before the rice has cooked all the way through (bite into the rice to see if it is still raw in the middle), add back in the vegetables and saffron.
Sorry about the blur
Continue cooking until rice had just become tender all the way through the grain, and the vegetables are hot. Stir in the parmesan cheese and test for seasoning, adding salt and pepper if necessary.

Serve immediately with a nice glass of white wine!

Yield: 4 servings


January 23, 2012

Weekend Workout!

So I'm pretty sure 75 - 80 degree weather in the middle of January is highly abnormal. BUT I'm not complaining. So yesterday, I took advantage of wearing shorts and a tank top and went for a workout on the Katy Trail! For those of you not living in Dallas, the Katy Trail is this great 3 - 4 mile long trail near downtown Dallas. It's so peaceful and pretty, you would never know you're in the middle of a big city!

But it looks like everyone else had that same idea of working out yesterday too, because it was PACKED! And hopefully this nice weather is spreading throughout the rest of the country, so I thought it would be a good time to share the workout I did yesterday.

I'm had a bit of an IT band issue for almost a year now, so running long distances (3+ miles) isn't something I can do very well anymore. So, yesterday I made up an interval workout and I was exhausted for the rest of the day! The layout was:

Warm up: 0.25 mile brisk walk

1 mile jog - comfortable pace

[ 1 minute sprint + 2 minute walk ] x 7

0.25 mile cool down jog

0.25 mile walk back to the car

All together, this workout took me about 50 minutes to complete and it about wore me out for the rest of the day. Intervals are definitely the way to go if you want a high-intensity workout.

Happy Sweating!